Tuesday, March 6, 2018

Swatching and Smidgens

When it comes to designing, size is everything. Just a smidgen in bead size inconsistency adds up, creating buckling and even outright failure for a design because those little smidgens really do add up.

SWATCHING

So how does one deal with this? First, when it comes to bead size inconsistencies, know that you are not crazy. More on this in just a minute. Second, practice swatching. When I first started knitting years ago, all of the patterns and books that I read, as well as fellow knitters, insisted that I swatch first before starting a project. Because every knitter knits at a different tension, by knitting up a 6- to 8-inch square and counting the stitches and rows, knitters are better able to get a more accurate stitch count and to also test out the yarn itself. I think that this is a practice beaders need take up as well, if you are not doing so already, not so much for sizing but to make sure that the beads you select for a project play well together. I have found it very handy.

So what would bead swatching entail? Basically, instead of selecting all of your beads and starting to bead an entire project, bead the first two or three motifs or an inch or so of your piece to get an idea of how the beads are coming together and whether the colors are working. If it doesn’t work, just take it apart. Sometimes a fatter seed bead or a fire-polished bead with a different coating will work better.


SMIDGENS

Now about those smidgens. Let’s use rocaille seed beads as an example and Japanese seed beads in particular. When it comes to rocaille seed beads, I am a Miyuki lover. In fact, I personally think their Duracoat line is just about as close to perfection as you can get. But oh, the Toho colors and coatings! They take your breath away. Even the product names leave you giddy: Metallic Airy Blue, Silver-lined Dragonfruit, Raku Cabernet Iris, Higher-Metallic Dragonfly.

The problem, however, is that many of the Toho 11/0 rocaille seed beads are just a smidgen fatter than the Miyuki brand—just enough to create hell and havoc on a design. This is why I often specify that Miyuki rocaille seed beads work better than Toho seed beads in certain projects and why you should always…. SWATCH!

Bead coatings can also cause size discrepancies and with all of the new coatings and manufacturers in the bead world, this is getting even more crazy, especially when it comes to fire-polished beads. I have found that 3mm and 4mm Preciosa fire-polished beads can be noticeably smaller than some of the fire-polished beads produced by other Czech bead manufacturers but even within these same manufacturers, bead size will vary a smidgen depending on the coating applied.

And crystal… if you sometimes get the feeling that 4mm Swarovski bicones and pearls are just a smidgen smaller than their Czech counterparts, you are not alone.

Lately, I have been rebeading a lot of my old designs and upgrading the pattern instructions. New Czech beads are hitting the bead market every day, or so it seems. Some of these new beads just work better than the beads I originally used way back when and for other patterns, it’s just fun to swap out older beads with new beads to give an old pattern a facelift.

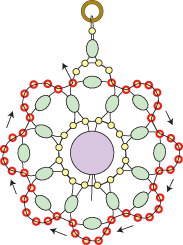
Czech Preciosa Twin beads came out in 2012, shortly before the now-infamous SuperDuo beads, and I gobbled them up as fast as my friend Betsy at RedPandaBeads.com could send them to me for designing. Although Preciosa is now creating “pressed” Twin beads (made in a mold like SuperDuo beads), when Twin beads were first manufactured, they were not “pressed” and as such, very irregular in size and definitely more oval shaped.

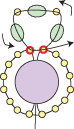
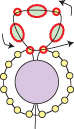
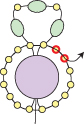
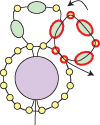
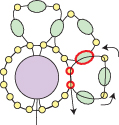
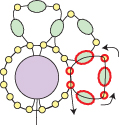
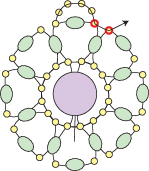
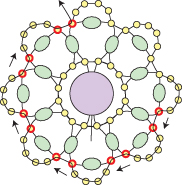
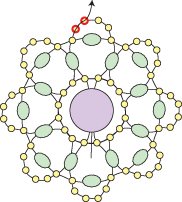
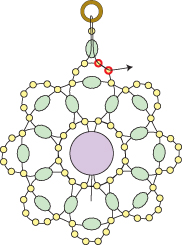
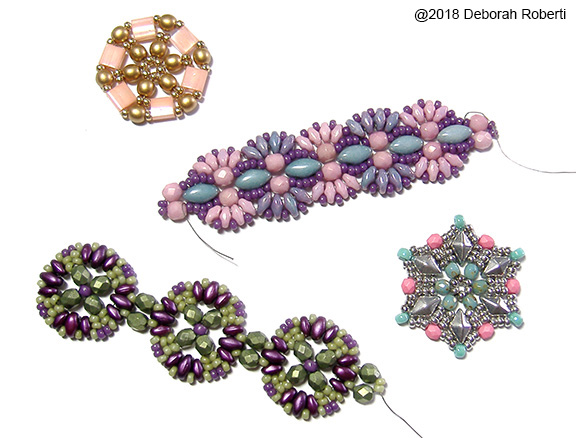
Because of their fabulous coatings, consistent size and lovely tapered ends, Czech SuperDuo beads hit the bead scene fast and hard and are now the most popular Czech two-hole beads in the world. But are Twin beads and SuperDuo beads interchangeable? Well, sometimes yes, sometimes no. Sometimes yes with some tweaks as is the case for my recently updated Twin Cube Wave Band where you can see the difference between the beads—Twin beads (top), SuperDuo beads (middle) and MiniDuo beads (bottom).

Twin Cube Wave Band

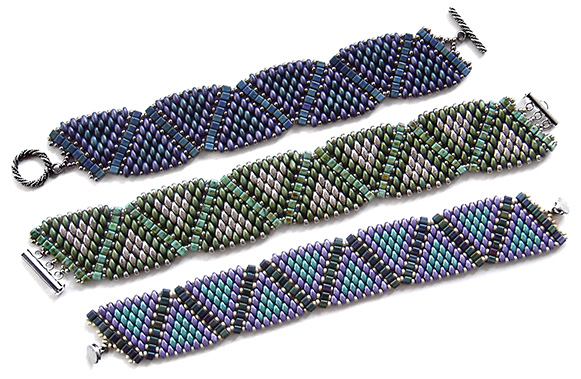
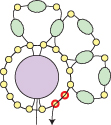
The design change is not at all huge, but in order to keep the SuperDuo version from bulging or leaving air between beads in the last row, you have to add size 8/0 seed beads instead of size 11/0 seed beads along the outer edge.

Of course, now there are over 50 new Czech beads on the market. Some absurd and some utterly lovely. As all of these new beads make their way into the market, I have decided to update many of my patterns. You can always find information on new tweaks and improvements on my Addendums page here:
https://www.aroundthebeadingtable.com/Addendums.html

Thursday, February 22, 2018

Updated beaded Flower Earrings pattern!

Flower Earrings, free bead pattern

Flower Earrings
(©2009, updated 2018 Deborah Roberti)

I have updated my free Flower Earrings pattern so that they are a little stiffer, have a prettier attachment to the jump ring and also work with 6mm Czech 2-hole cabochons instead of 6mm round beads in the center.

Materials:• about 2 yards of 6 lb. FireLine
• two 6mm round beads (or two 6mm Czech two-hole cabochon beads--see end steps)
• about 140 size 11/0 seed beads (Miyuki rocaille brand preferred)
• 34 size 3mm fire-polished beads
• two small (2-4mm) jump rings
• a pair of ear wires, or whichever type of earring finding you prefer


STEP 1: Thread your needle with about a yard of FireLine.

String a round bead and eight seed beads.

Leaving about a six-inch tail, go around the right side of the round bead and back up through the round bead. Pull tight:


NOTE: You will not be making a knot so keep the tension tight and hold onto this tail thread for now.

Step 2: String eight more seed beads. Go around and back up through the round bead so that this set of eight seed beads is on the left side of the round bead. Pull tight:


Step 3: Go back down through the eight seed beads on the right side of the round bead that you added in Step 1:


Step 4: Go back around through the nine seed beads highlighted in RED:


Step 5: Go all the way back around through the ring of ring of sixteen seed beads highlighted in RED:


Step 6: String a fire-polished bead, a seed bead, a fire-polished bead, a seed bead and a fire-polished bead.

Go around and back across through the two seed beads on the ring (highlighted in RED) to form your first "petal":


NOTE: To guarantee that the earring lines up right upon completion, you do want to make sure that you go through those two seed beads highlighted in RED--one seed bead on each side of the round bead hole.

Step 7: Go back around through the beads that you just added (highlighted in RED):


Step 8: Go through the next two seed beads on the ring of sixteen seed beads (highlighted in RED):


Step 9: String a fire-polished bead, a seed bead, a fire-polished bead and a seed bead.

Go around and back down through the fire-polished bead that you added in Step 6 and back through the two seed beads on the circle of sixteen seed beads that you exited at the end of the last step (highlighted in RED) to form a second "petal":


Step 10: Go back around through the beads that you just added (highlighted in RED):


Step 11: Go through the next two seed beads on the ring of sixteen seed beads (highlighted in RED):


Step 12: String a fire-polished bead, a seed bead, a fire-polished bead and a seed bead.

Go around and back through the fire-polished bead that you added earlier and back through the two seed beads on the circle of sixteen seed beads that you exited at the end of the last step (highlighted in RED) to form another "petal":


Step 13: Go back around through the beads that you just added (highlighted in RED):


Step 14: Go through the next two seed beads on the ring of sixteen seed beads (highlighted in RED):


Step 15: Repeat Step 12 to 14 four times to create four more "petals":


Step 16: Go up through the fire-polished bead highlighted in RED:


Step 17: String a seed bead, a fire-polished bead and a seed bead.

Go around and down through the fire-polished bead, across through the two seed beads on the circle of sixteen seed beads and up through the fire-polished bead highlighted in RED:


Step 18: Go back around through the beads highlighted in RED:


Step 19: Go back through the seed bead highlighted in RED:


Step 20: String four seed beads.

Go around the fire-polished bead in the first petal and through the two seed beads highlighted in RED:


Step 21: String four seed beads.

Go around the fire-polished bead in the next petal and through the two seed beads highlighted in RED:


Step 22: Repeat the last step six times:


Step 23: Go up through the two seed beads highlighted in RED:


Step 24: String a fire-polished bead and a seed bead.

Go through your jump ring and then back down through the fire-polished bead and seed bead that you just strung.

Continue down through the two seed beads highlighted in RED:


Step 25: Go back around through the seed beads highlighted in RED:


Step 26: Go back around through the beads highlighted in RED and the jump ring:


Step 27: Go back around through the seed beads highlighted in RED:


Weave your way back into your earring, knot and cut your thread. Thread your needle with the tail from Step 1, weave your way into your earring, knot and cut your thread. Attach your earring finding to the jump ring.

Czech Two-Hole Cab Version

Flower Earrings, free bead pattern

Instead of 6mm round beads, you can use 6mm Czech two-hole cabochons. Just replace Step 1 to Step 5 with the following steps.

Step 1: Thread your needle with about a yard of FireLine.

Leaving about a six-inch tail, go up through the left hole of a 6mm Czech two-hole cabochon. String two seed beads. Go around and down through the right hole of this same cabochon:


NOTE: You will not be making a knot so keep the tension tight and hold onto this tail thread
for now.

Step 2: String two seed beads and go up through the left hole of the cabochon. Go across through the two seed beads that you added in the last step (highlighted in RED):


Step 3: String six seed beads and go across through the two seed beads highlighted in RED:


Step 4: String six more seed beads and go across through the two seed beads highlighted in RED:


Step 5: Go all the way back around through the ring of ring of sixteen seed beads highlighted in RED:


Continue on with Steps 6 to 27.